
Well, it was heating, but only a little bit and Lori had what looked like a fire or a sparkler. Yep, look at that, the heating element had failed. So, time to Google. The heating element is metal tube that contains insulation and a wire. Electricity is applied to the wire, encounters resistance and heats up.
Eventually the insulation may wear out and the internal wire will touch the outer tube and cause a short. There may be a brief flare-up that often looks like a sparkler.
Sure enough, there it is. (Click on any photo to enlarge.)


A little more research and found a video on how to do the repair. (Why do a blog post if there are videos out there? Two reasons - first, they didn't show close-ups. Second, those guys were pros. I'm not. If I can do it, you can do it.)
They also offered to sell the part. Unfortunately, they wanted $40 + s/h. So...


Very important - do not touch the new heating element. Use a cloth or gloves to keep oil from your skin off of the element. Oil from your skin will shorten the life of the element and cause it to short out quicker.

So, pulled the stove away from the wall and unplugged it. Found a note from us back when we were a family of 3. (We like to leave notes on the walls behind appliances to note when we painted.)

Here's all the tools you'll need for the job: a clothes pin or two (optional), a pair of needle-nose pliers, a screw-driver (rachet-style will save time) and a cloth for handling the element. Oh, and a towel to set stuff on since the racks and old element will be dirty.


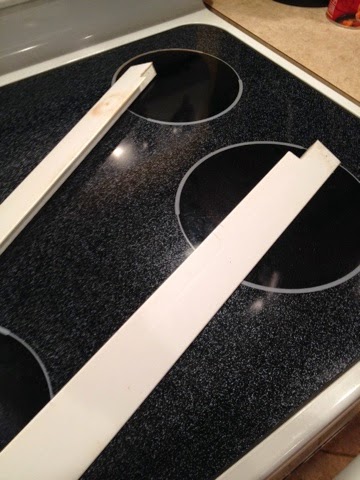
Some instructions recommend removing the oven door. I did not do that. It would have made it a little easier, but I don't think it would have been worth the time and effort. Removed the oven racks.
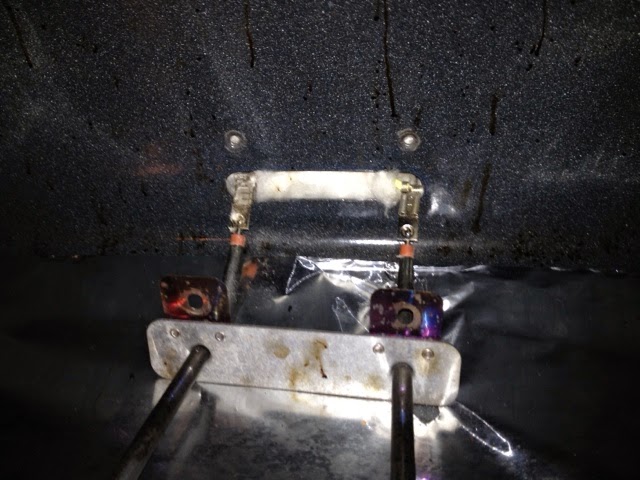
At the back of the stove is where the element connects to the oven. There's a small metal plate and two screws. You can look at the new one to see what you'll find with the old one.
Unscrew the two screws and set them aside. Your new element may or may not include new screws, but since you know the old screws fit.
On this particular element, you'll lift up as you pull forward since the connectors are curved upwards.

The old one broke completely as soon as I pulled it out.

So this is where you might want the clothes pin(s). Once I removed the leads, they wanted to pull back through the hole. If they went through the hole, that probably means removing the back panel of the stove. No thanks.

The needle-nose pliers are necessary to put attach the leads to the new element. This will not be easy as you've climbed half-way into the oven at this point.
Slowly maneuver it back into the opening. Screw in the screws. Put the oven racks back in, plug in the oven, slide it back into place and turn it on.

Voila!
*****
Also a quick tip -- I love these plastic Counter Spill Guards

As always, if you've found this helpful, please use my Amazon link.
No comments:
Post a Comment